Git
Headline: Every Designer In This World. Followed by a series of icons of PhotoShop files named New.psd, NewFinal.psd, NewFinalFinal.psd, NewFinalestFinal.psd, NewFinalestFinalForSure.psd, and ending with NewFinalestFuckThisShitFinal.psd. Image by Twitter user @AksharPathak.
While a familiar scenario, we can do better than this, and version control helps us do exactly that.
The content on this page assumes you have either used git and GitHub previously or have already read Git and GitHub in Plain English and uses vocabulary defined in that reading.
Git basics
Even very simple web projects are made up of a collection of files:
- an HTML document for each page of your content
- one or more CSS files for the styling of that content
- image files referenced in your HTML or CSS
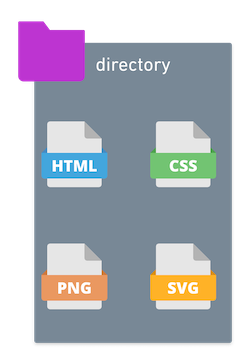
There are even likely to be folders inside your project, for example, an “images” folder to organize all the image files.
Git allows you to track changes on these files – their content as well as their names and organization.
Additionally, while saving a file only affects individual files, git introduces a concept called a commit which allows you to save a group of changes across files along with notes (called a commit message) about those changes.
In this way, when you add a new image file to your web project and then reference it in the HTML document, both changes can be tracked as a unit as a commit.
Getting started with git
💡 While there are references to specific commands in the following text, this is just informational at this point. You are not meant to be following along and running these commands.
In order to use git in a project, you first need to run a command to tell git to start paying attention to your project. Running the command git init inside your project folder on the command line initializes git in your project.
While nothing changes visually in your project folder after running this command, there are some git concepts that have now been added:
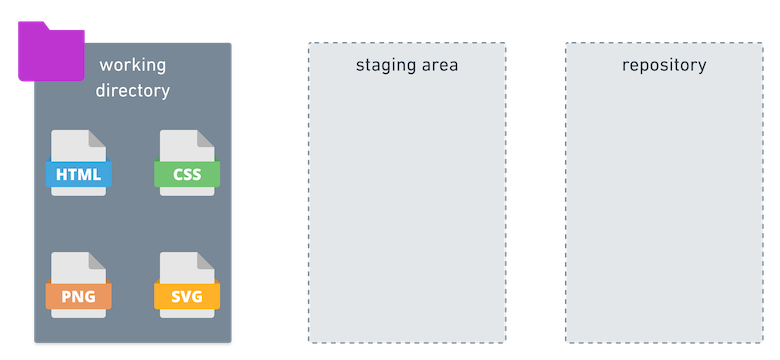
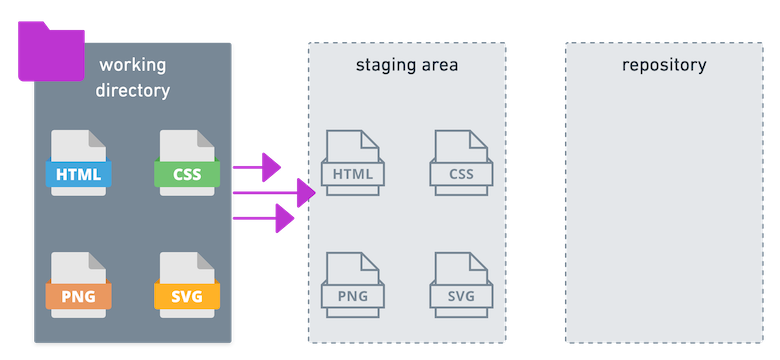
- the working directory is your project folder with all your current work
- the staging area is a holding cell for changes you’re going to commit to your repo
- the repository is your current work, plus the entire git history of your commits and any alternate versions you may have created along the way
The staging area and repo are not ever visible in your project folder – they’re entirely conceptual. You need to use the command line or another tool (like VS Code or GitHub Desktop) to be able to see these changes.
If it helps, imagine that the repo is a storage unit and the working directory is your house or apartment. The staging area is the boxes you put your stuff in to designate that you’re going to take it off to the storage unit. You can move stuff in and out of those boxes as much as you like before committing (see what I did there?) to the storage unit.
As you work on or add files in your working directory, you save them as you normally would. When you have completed a task or a group of work that you want to commit, you add those updated files to the staging area. The command to do this is git add.
You can add a single file to the staging area…
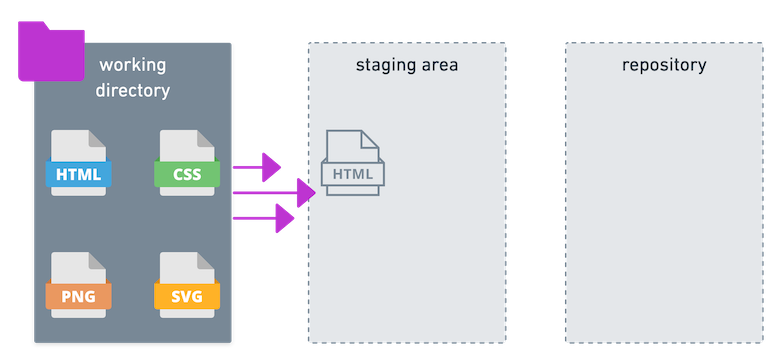
…or you can add multiple files.
After you have identified the chunk of work and group of files you want to add to the repo, you use the command git commit.
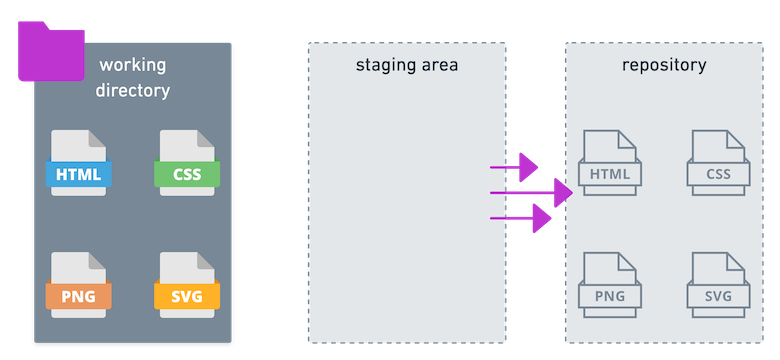
This takes the work in the staging area and commits it to the repo and your project history.
What is a chunk of work?
If this seems like an odd way to think of your work, don’t stress at this point. We’ll talk more throughout the semester about the when and why of making commits. For now, I’ll try to provide some metaphorical examples that maybe will help you wrap your head around this:
-
Think of saving in a video game; first, when you save, you’re not just saving one thing – you’re saving multiple bits of data: your progress in the game so far, your character details, your location. Also, it’s common in video games to save before a big battle or doing something difficult; why? Because you may want to restart from that save point. Git commits are a lot like this.
-
Think of a baking or cooking project; there are multiple, discrete steps: deciding on a recipe, gathering ingredients, prepping ingredients, etc. Each one of those might be a spot to make a commit (if, you know, git worked in the kitchen).
Thinking in terms of commits and chunks of work will also help you organize your time this semester. It’s difficult to sit down to a project with the goal of “finish project 1;” that goal is too broad and ill defined. Instead, if you think, “Today I’m going to get the fonts sorted for this project” – that’s much doable and is a perfect chunk of work for a commit.
Share What You've Learned
Remember: Embedded quizzes like this are used as part of your participation grade.
Git + GitHub
All of the examples so far only reference work on your local computer – the working directory, staging area and repo all exist on your computer and only there.
GitHub is a site where you can create a version of your local repo that is available on the web, both as a backup for yourself and for other people to view and interact with your code. GitHub uses git and adds additional features and tools, but they are separate things; it’s entirely possible to use git and never have a GitHub account, for example.
There are other services like this that also use git (for example, GitLab, Bitbucket). You don’t need to know details about these services at this point, but I mention them just to further cement the idea that git and GitHub are not the same thing.
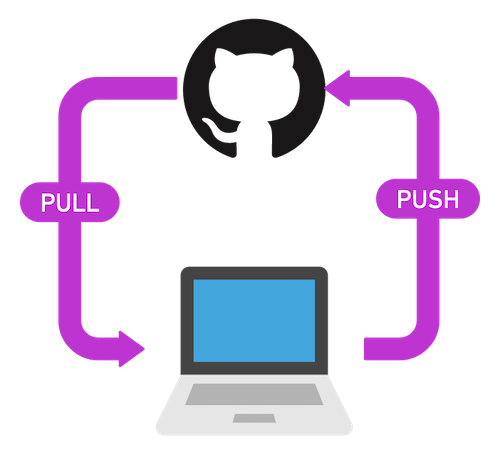
The commands git push and git pull are what move your files back and forth between your local computer and the GitHub web site.
This is, admittedly, a lot of typing to accomplish things, but it will definitely get easier and make more sense through repetition. If you have questions about any of these concepts, feel free to ask in the #general Slack channel or get in touch with me via DM.
Summary of commands
git initcreates a new git repo; you will not need to do this in any of your Glitch projects, as it has already been done for yougit statusprovides an output of information, including your current branch name and details about any changes you’ve madegit add example.htmlstages the changes from a single file (replaceexample.htmlwith the actual filename)git commit -m "Your message here"will commit all the staged changes with the message you add between the double quotes (replacing “Your message here”)git pushwill send all the changes you’ve committed to to your GitHub repogit pullwill bring any changes in your GitHub repo into your local repo